
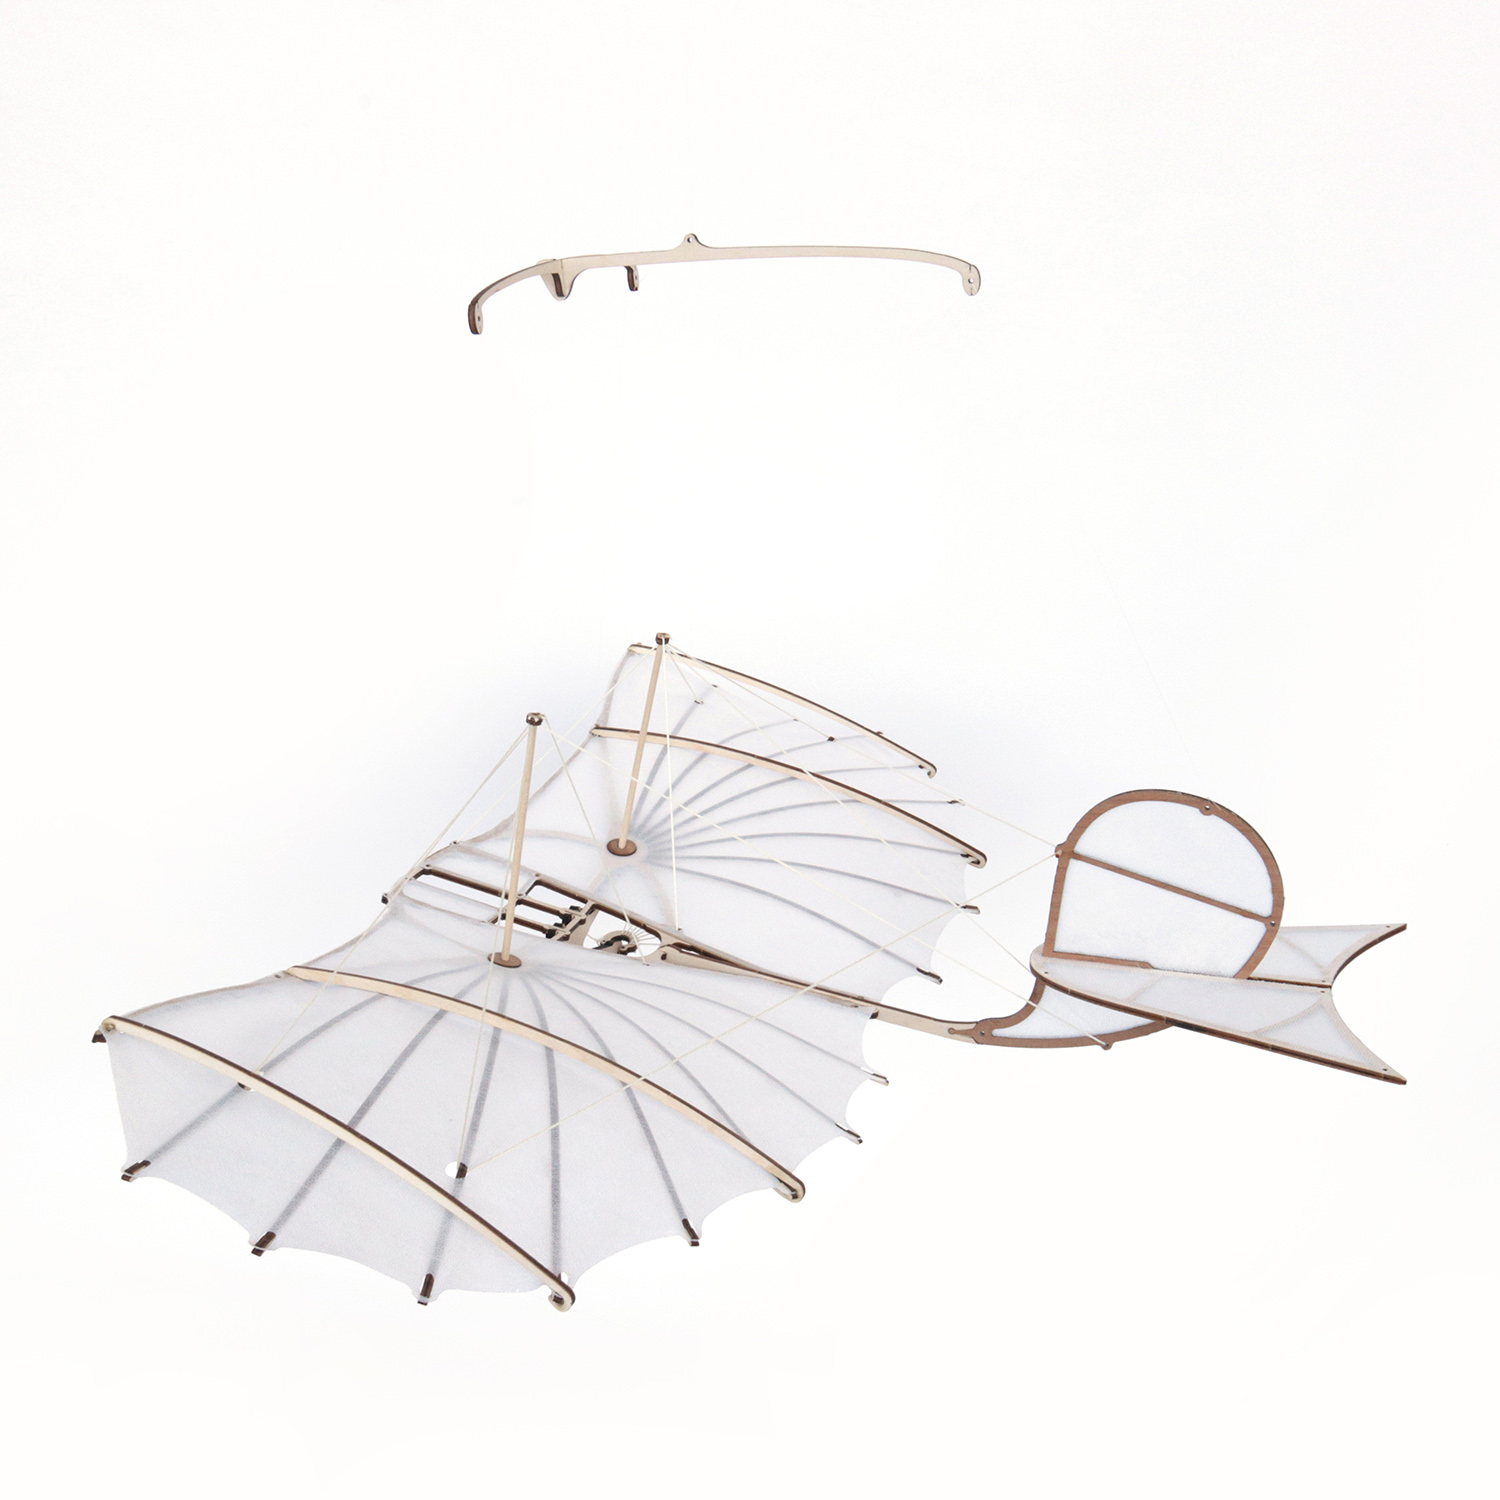
This model, which also had long gestation, was coceived during a direct contact with Bernd Lukasch, director of the Otto-Lilienthal-Museum in Anklam: it is one of the gliders built by the aviation pioneer Otto Lilienthal, who, four hundred years after Leonardo’s experiments, managed to hover.
Despite its great complexity, we made it in the spirit of Dahimo, aiming to make it easy for those who want to rebuild it without having any particular experience in the field of model making.
His fine-tuning made use of the precious indications given to us by Lukasch, who followed the construction phases, intervening carefully when necessary.


Instructions
In this Playlist Video you can find all the assembly steps.
This is our Lilienthal Glider Model.
Below, the assembly instructions in a convenient playlist.
Let’s start building our Lilienthal Glider Model step by step!
N.1 Assemble body and front ribs
Assemble body and front ribs: See on Youtube
N.2 Gluing textile on the wing – Part 1
Gluing textile on the wing – Part 1: See on Youtube
N.3 Gluing textile on the tail
Gluing textile on the tail: See on Youtube
N.4 Gluing textile on the Tail Plan
Gluing textile on the Tail Plan: See on Youtube
N.5 Removing the Gluing kit from the wing
Removing the Gluing kit from the wing: See on Youtube
N.6 Gluing textile on the wing – Part 2
Gluing textile on the wing – Part 2: See on Youtube
N.7 Removing the Gluing kit from Tail
Removing the Gluing kit from Tail: See on Youtube
N.8 Preparation of tail parts
Preparation of tail parts: See on You Tube
N.9 Assembly of the ribs
Assembly of the ribs: See on Youtube
N.10 Fixing the textile to the ribs
Fixing the textile to the ribs: See on Youtube
N.11 Fixing the “X” support to the body
Fixing the “X” support to the body: See on Youtube
N.12 Inserting of the tail to the body
Inserting of the tail to the body: See on Youtube
N.13 Placing the lower wires on the ribs
Placing the lower wires on the ribs: See on Youtube
N.14 Assemble of the must – part 1
Assemble of the must: See on Youtube
N.15 Assemble of the must – part 2
Assemble of the must: See on Youtube
N.16 Placing the top wires – part 1
Placing the top wires from 2 to A and from 25 to B
See on Youtube
N.17 Placing the top wires – part 2
Placing the top wires from A to 14 to B: See on Youtube
N.18 Placing the top wires – part 3
Placing the top wires from A->5->13->22->B: See on Youtube
N.19 Pulling the wires
Pulling the wires: See on Youtube
N.20 Placing the top wires from – part 4
Placing the top wires from C1->1->A1->12->15->B1->26->D1
See on Youtube

Great model!
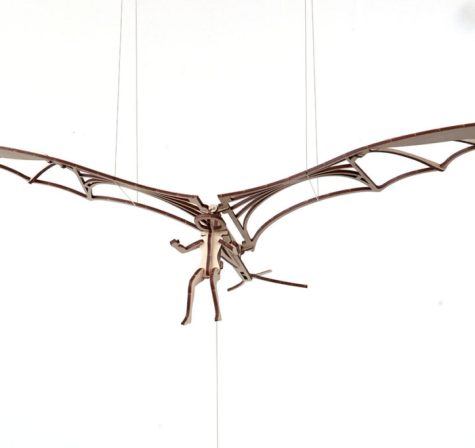
Lilienthal was not satisfied to restrict his work to the exploration of aerodynamic theory. Between 1891 and 1896, he put his research into practice in the form of a series of highly successful full-size glider trials. During this period Lilienthal made close to 2,000 brief flights in 16 different glider designs based on his aerodynamic investigations. Most were monoplanes with stabilizing tail surfaces mounted at the rear. He also tried a few biplane and folding wing designs, but the original monoplane glider, or Normal Segelapparat (standard sailing machine) as he called it, produced the best results. Lilienthal built at least eight gliders of this type.